When you need to make extensive updates—such as refreshing provider bios or location details—the bulk edit workflow is the most efficient way to manage your data at scale. Instead of clicking into individual records, you can export your content, make hundreds of changes in a single spreadsheet, and re-import the file to update your records in a fraction of the time.
Step 1: Export your content
Pull your current data from the DX Engine into a CSV file:
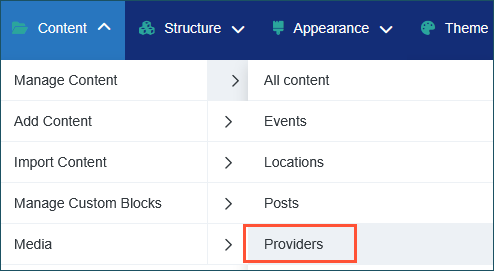
- Navigate to Content > Manage Content > Providers (or your relevant content type).
- Click the Edit all providers dropdown and select Export CSV.

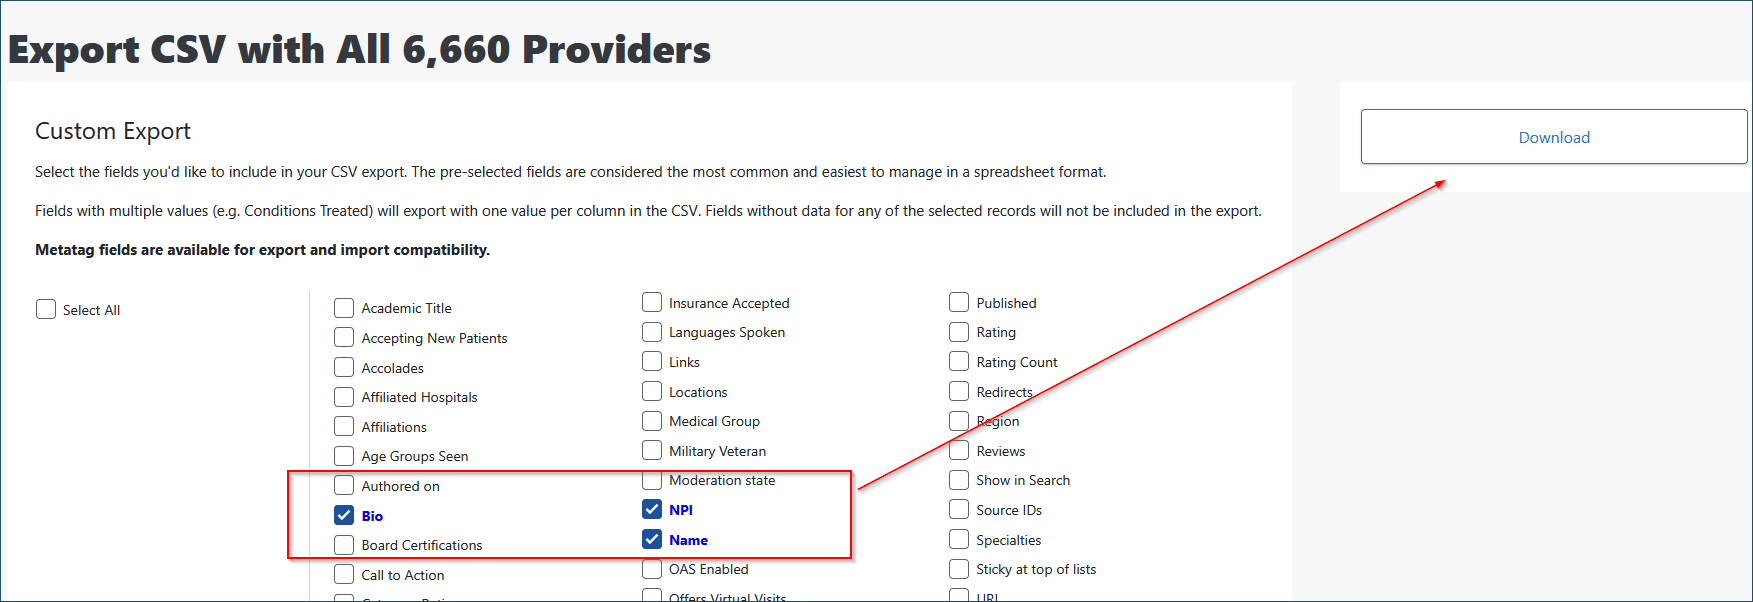
- Select the specific fields you would like to include in your export (e.g., Bio, NPI, and Name), then click Download.
Step 2: Make your edits
Once the CSV file is downloaded, open it up and use your preferred spreadsheet program to manage your data. Make the necessary changes directly within the CSV file and save it.
Step 3: Import the new data
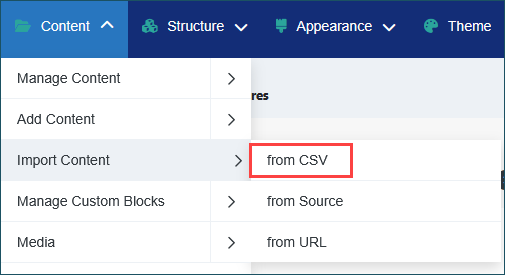
- Navigate to Content > Import Content > from CSV or go directly to /admin/content/hg-import.
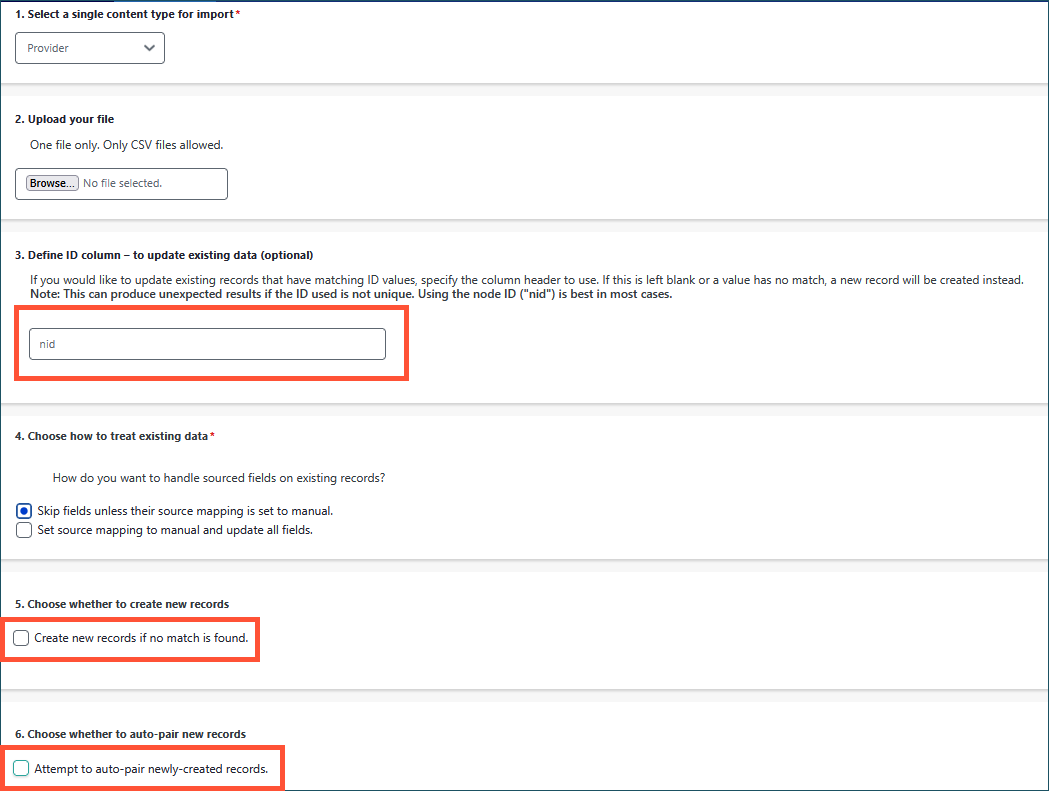
- Select a single content type for the import.
- Upload your file and ensure nid is defined in the ID column field to update existing records.
- Ensure the boxes for Create new records and Attempt to auto-pair are left unchecked, then click Import.
Once you click import, the process will run and display a progress line showing how many records are being imported. After the import is complete, perform quality testing on the front-end of the site to confirm the changes you put into the CSV are visible.
Quick tips:
- Browser requirement: The import process works best when using Chrome. It does not work at all using Firefox.
- Direct access URLs: You can access the export screen for various content types directly by appending these paths to your site URL:
- Providers: /admin/config/hg-features/mass-export/hg_provider
- Locations: /admin/config/hg-features/mass-export/hg_location
- Services: /admin/config/hg-features/mass-export/mercury_services
- Posts: /admin/config/hg-features/mass-export/hg_post