Note: The Events module is an optional feature in Digital Experience Engine (DXE), and may be turned off for your site if it was not needed at implementation. If you’re interested in enabling Events in your DXE site, please contact your Account Manager.
While DXE has built-in Event administration, Events can also be managed using alternate plugins (such as Content Apps) that may look and function differently than described in this article.
While DXE has built-in Event administration, Events can also be managed using alternate plugins (such as Content Apps) that may look and function differently than described in this article.
Overview
Managing Events using the built-in DXE Events manager looks similar to managing other types of content.
Use the quick links below to jump to specific instructions:
Creating an Event
- Click Content in the Toolbar.
- Click + Add new content.
- Click Event.
-
Fill out the Event details, including the schedule, registration details, and venue.
- Learn more about the individual fields in an Event.
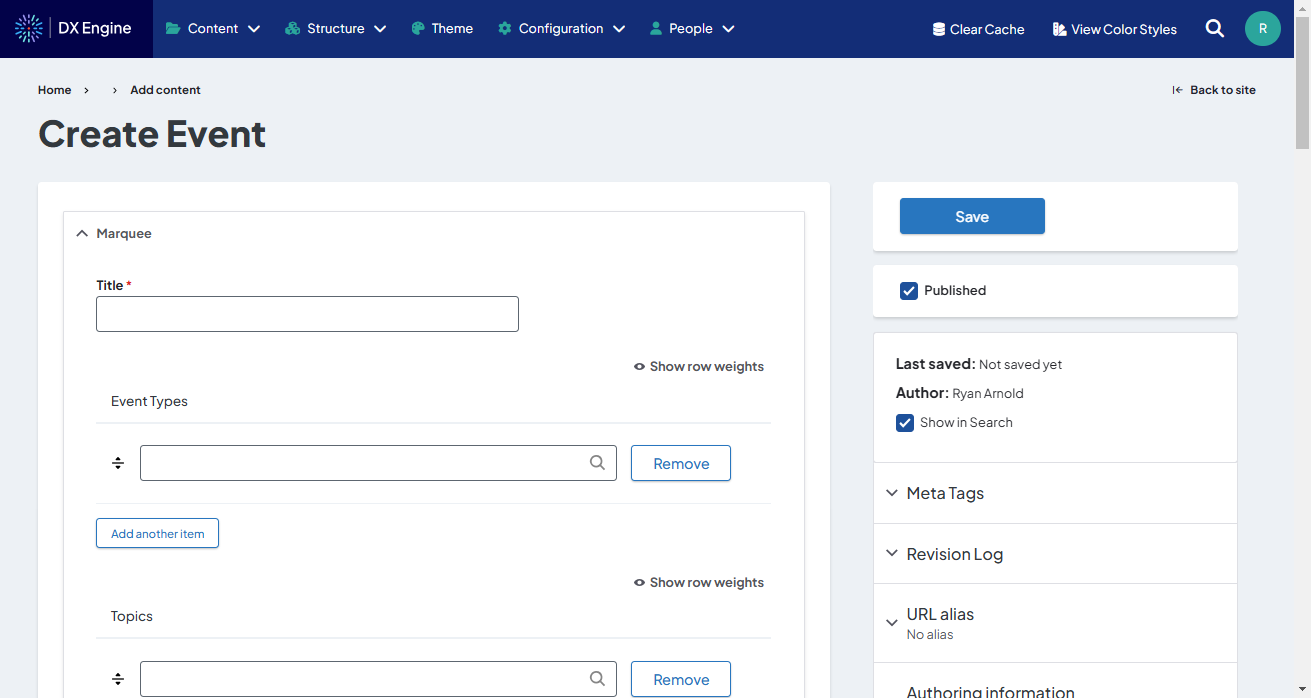
- Click Save.
Modifying an Event
- Click Content in the Toolbar.
- Locate the Event name in the content list.
- It may help to set the Content type filter to Event and before searching for the Event name.
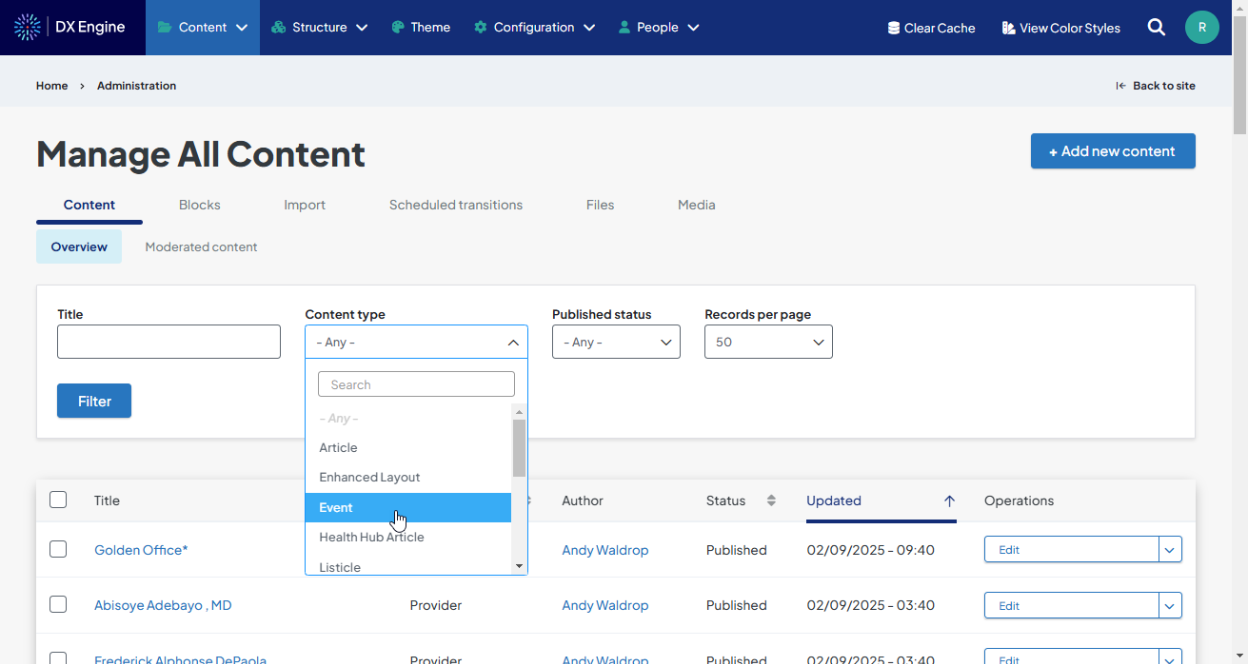
- It may help to set the Content type filter to Event and before searching for the Event name.
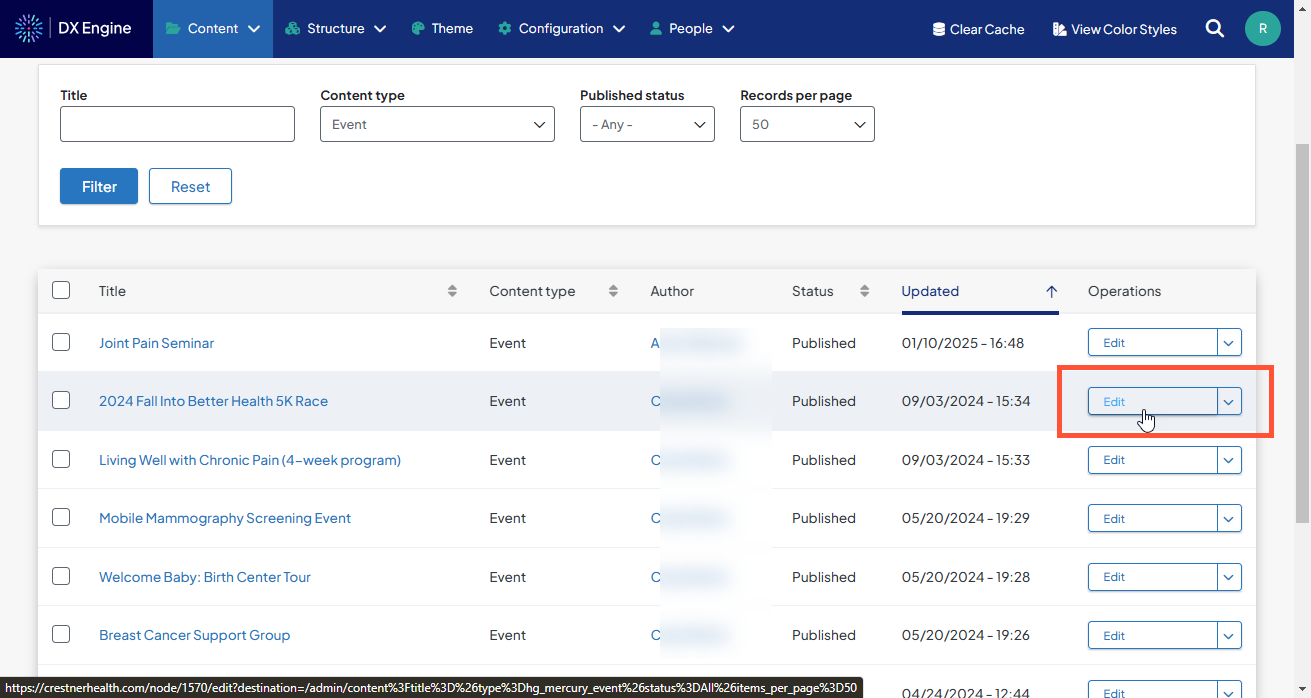
- Click Edit next to the event.
- Modify the Event fields as needed.
- Click Save.
Removing an Event
Tip: Events with a set End Date will expire and automatically be removed from search results in DXE.
If you need to remove an Event manually, you can do this in 1 of 2 ways:
- Unpublish: This will remove the event from search results but it will still be manageable and able to be republished.
- Delete: This will delete the event entirely. If you need to recover the Event, it will have to be recreated from scratch.
Unpublishing an Event
- Click Content in the Toolbar.
- Locate the Event name in the content list.
- It may help to set the Content type filter to Event and before searching for the Event name.
- It may help to set the Content type filter to Event and before searching for the Event name.
- Click Edit next to the event.
- Uncheck the Published checkbox.
- Click Save.
Deleting an Event
- Click Content in the Toolbar.
- Locate the Event name in the content list.
- It may help to set the Content type filter to Event and before searching for the Event name.
- It may help to set the Content type filter to Event and before searching for the Event name.
- Click the dropdown arrow next to Edit next to the event.
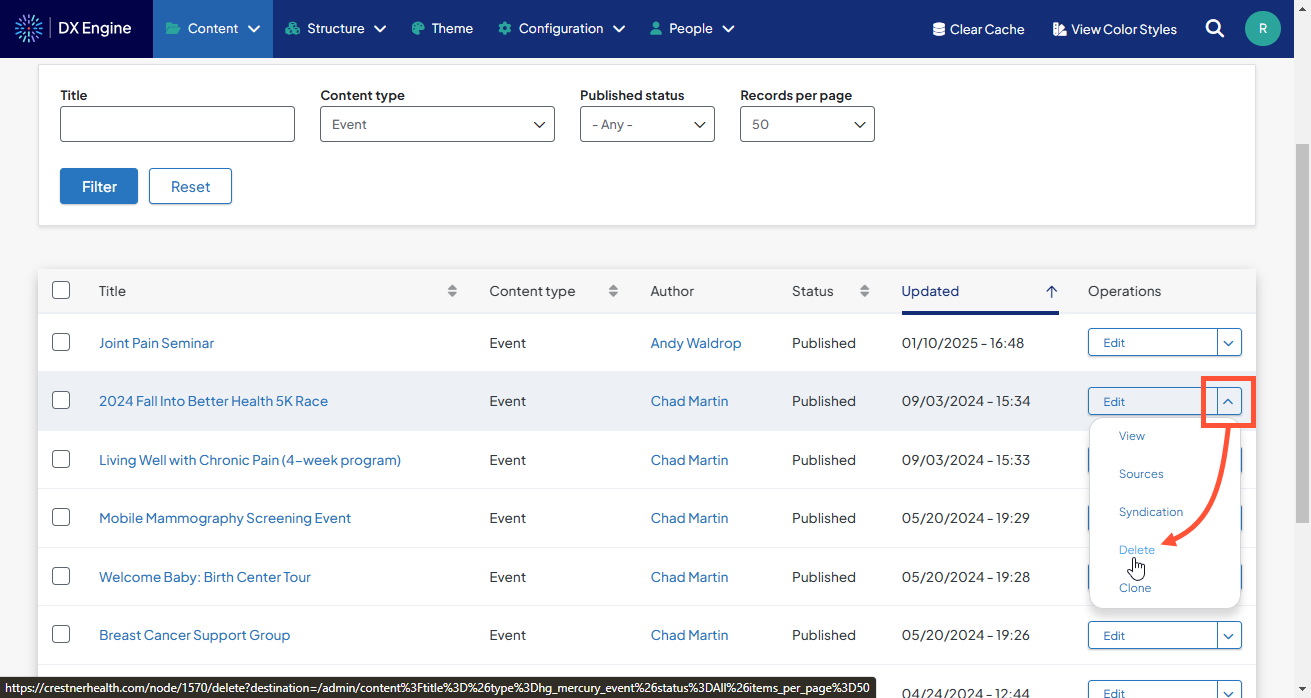
- Click Delete in the confirmation window.