Overview
Under the Centers for Medicare & Medicaid Services (CMS) Hospital Price Transparency requirements, hospitals must make public their standard charges in a comprehensive machine-readable file (MRF). Ensuring this file is hosted properly on your website is critical for compliance and for ensuring healthcare consumers, researchers, and tools can access your pricing data.
File size considerations
Machine-readable files, particularly in CSV or JSON formats, can become exceptionally large depending on the size of your hospital and the number of negotiated rates.
- File Size Limit: DXE has a standard file upload limit of 100MB.
- Compression: To bypass this limitation, you may need to compress your file. Any hospital MRF can be zipped or compressed regardless of size, as indicated in page 27 of the Hospital Price Transparency FAQs.
- Naming Convention: If you choose to zip or compress your MRF, CMS recommends, but does not require, that you use the CMS-specified naming convention and append ".zip" or ".gz" after the file type (either.json or .csv).
- SFTP Uploads: If your file is still larger than 100MB even after being compressed into a .zip file, the file must be uploaded via SFTP. Please contact support or consult with your Account Manager for assistance with SFTP uploads.
How to upload
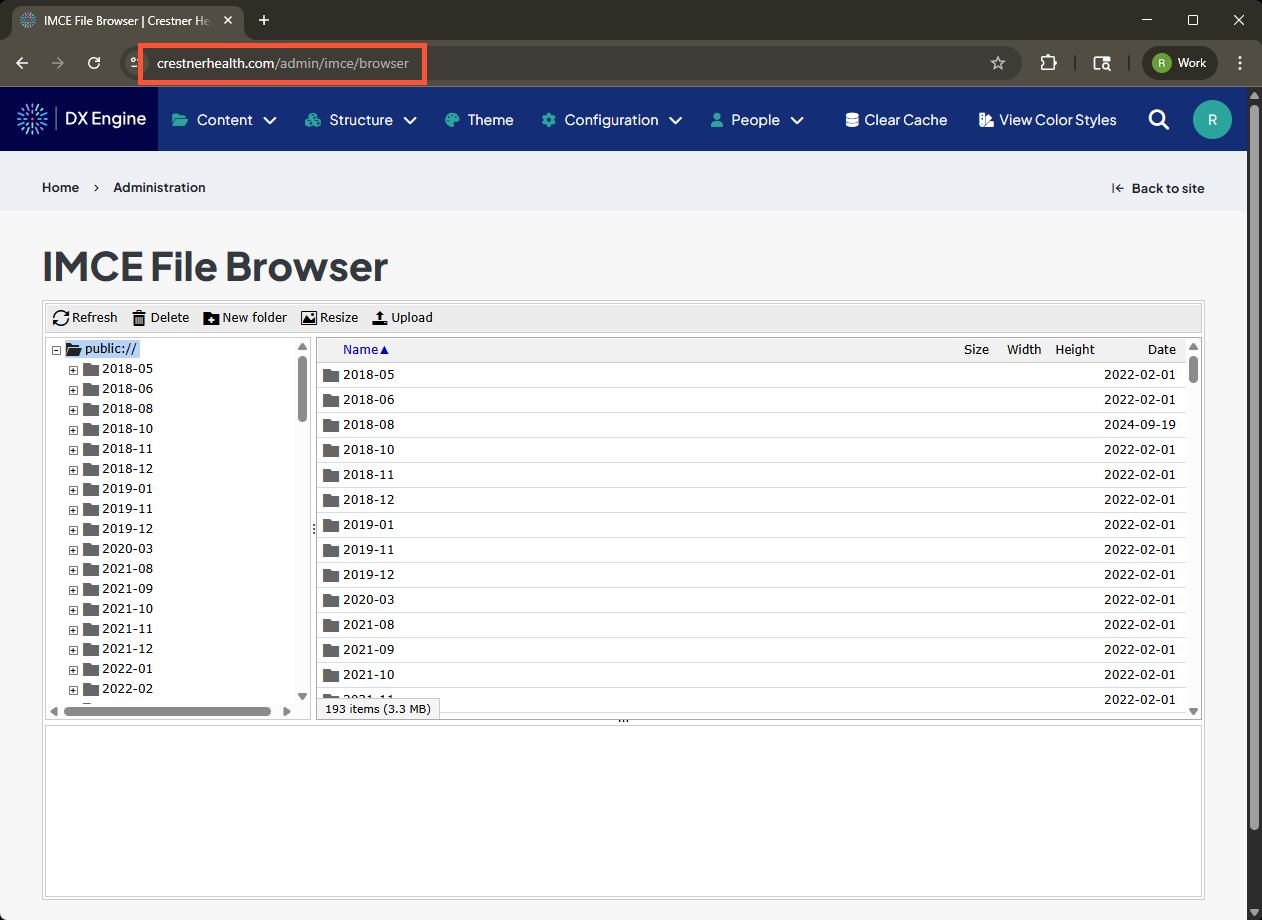
- Access the IMCE File Browser by navigating to https://[yoursitedomain]/admin/imce/browser. (Example: crestnerhealth.com/admin/imce/browser)
- In the folder tree on the left, select the folder where you want to store the file (e.g., public/documents or public/transparency). You can also create a folder by clicking the New folder option, as demonstrated here.
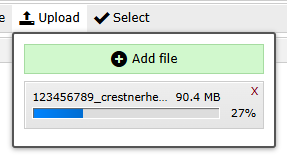
- Click Upload, then Add file.

- Select the price transparency file on your computer. An upload progress bar will appear.
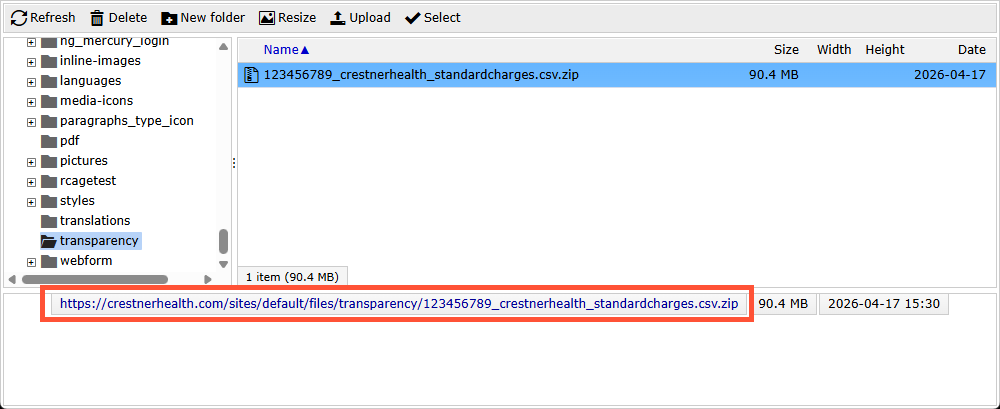
- When complete, the file appears highlighted in the folder. The URL for the file also displays. Use this URL for any download links you share with your visitors and clients.
Related Help Content
 DXE: Adding content
Search bar
SummaryThe search bar component is a compact search bar that you can place anywhere in a page layout. Thi...
DXE: Adding content
Embedded content
The Embeddable content button in the Body editor allows you to easily add more advanced/interactive conte...
DXE: Adding content
Theme
The “theme” is where you start applying the basic definitions in the brand to the more recognizable e...
DXE: Configuration
Reference: Source Sync Report
OverviewThe Source Sync Report is a useful audit trail for sites that sync content data (such as provider...
DXE: Adding content
Headline and Media Marquee component
OverviewA Headline and Media Marquee is a component that can be placed in an Enhanced Layout page. It can...
DXE: Adding content
How-to: Create and manage Site Alerts
OverviewSite alerts appear at the very top of your Digital Experience Engine (DXE) site on all pages wher...