Default Brand
You can set up and save many Brands in your site by clicking Structure > Brands in the Toolbar. More instructions for creating Brands can be found in our Brand article.
Setting up a Default Brand
If you only have one Brand in your site, this will be set to the Default Brand automatically.
If you have multiple Brands in your site, here's how to set/change the Default Brand:
- Click Theme in the Toolbar, then click the Brands tab on the left.
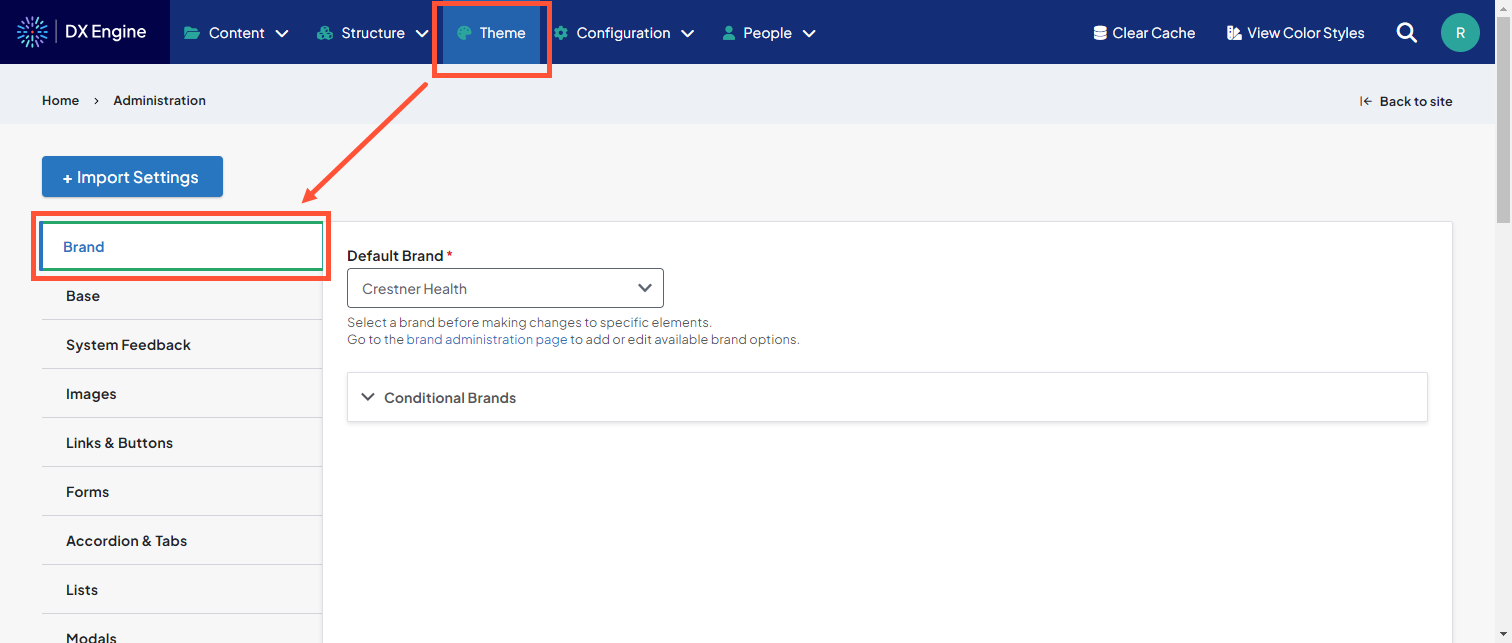
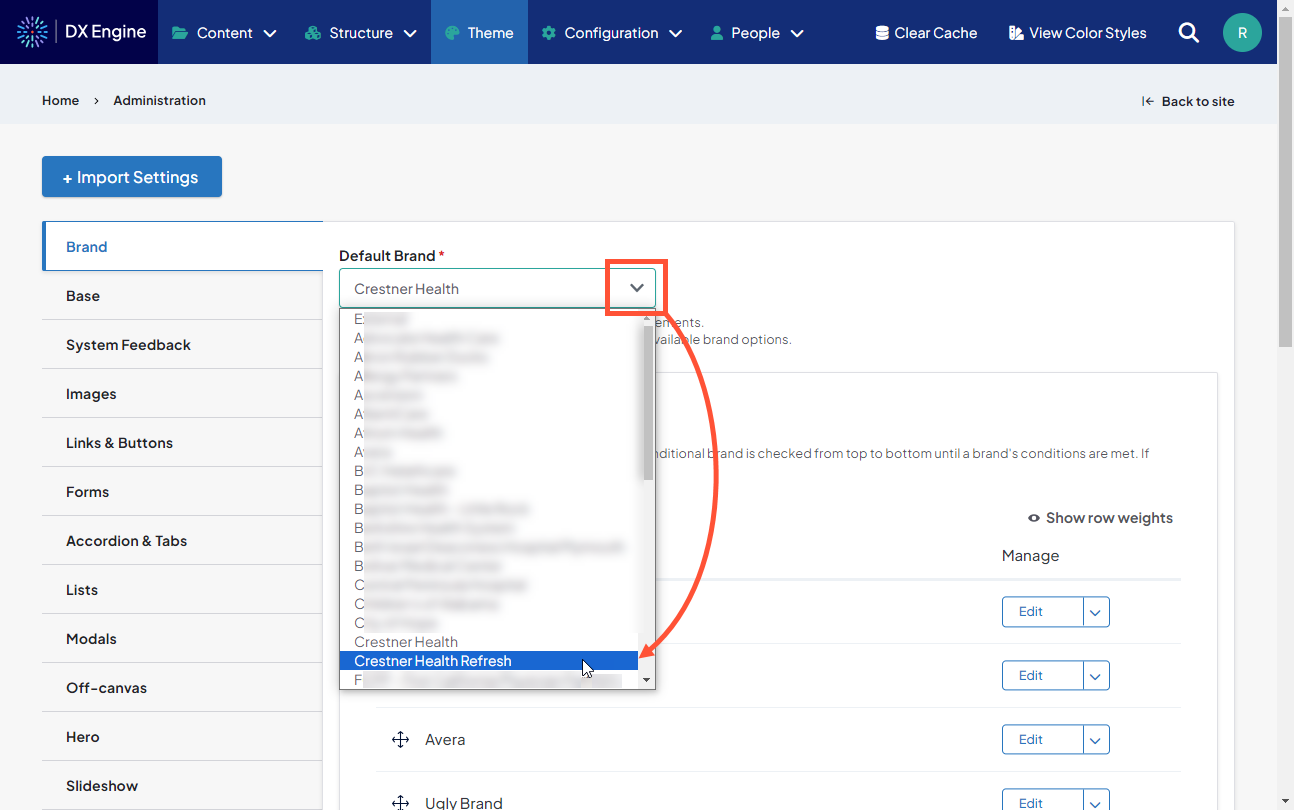
- Click the Default Brand dropdown and select the Brand you want to be the Default Brand.
- Scroll to the bottom of the page and click Save Configuration.
The new branding will be set as default on your entire site.
Conditional Brands
You can set any number of Conditional Brands along with a set of criteria for each one. If the criteria are met, the settings in the Conditional Brand will override the default brand, displaying the conditional visuals instead.
Creating a Conditional Brand
You can select any brand saved to your site (except for the default brand) as a Conditional Brand. Please view our Brand article for guidance on creating a new brand.
Setting a Conditional Brand
- Click Theme in the Toolbar, then the Brand tab on the left.
This page has been updated with some new fields:- Default Brand: the default brand for your site. This is required.
- Conditional Brands: any alternative brands also saved to your site that you may want to display conditionally.
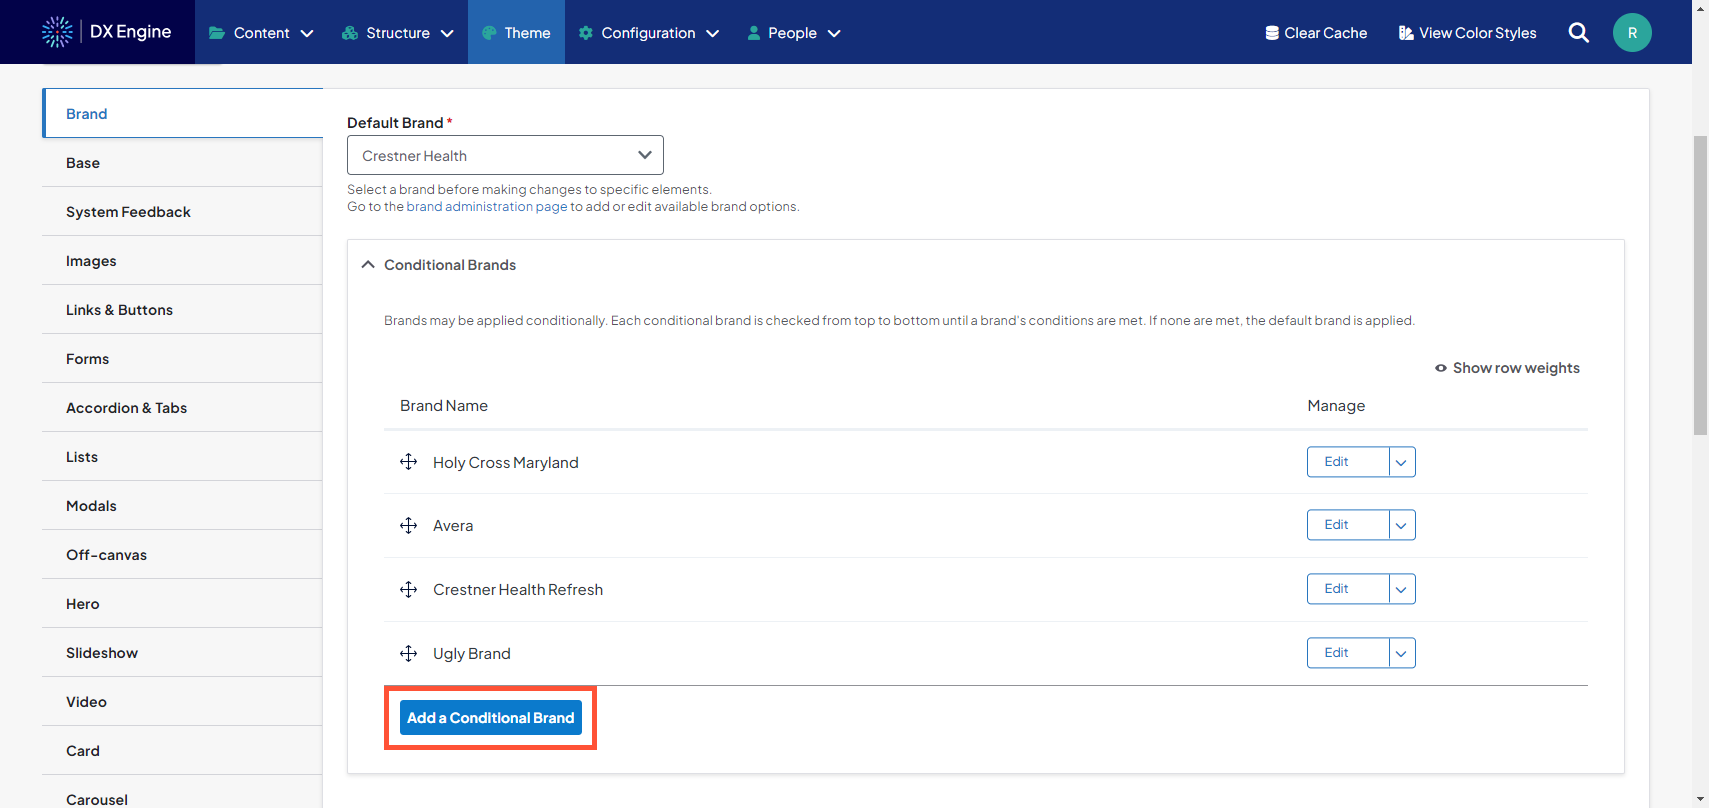
- Click Conditional Brands to expand. You will see any brands that have already been added to the Conditional Brands list.
-
Click Add a Conditional Brand.
- The Add a Conditional Brand page will appear.
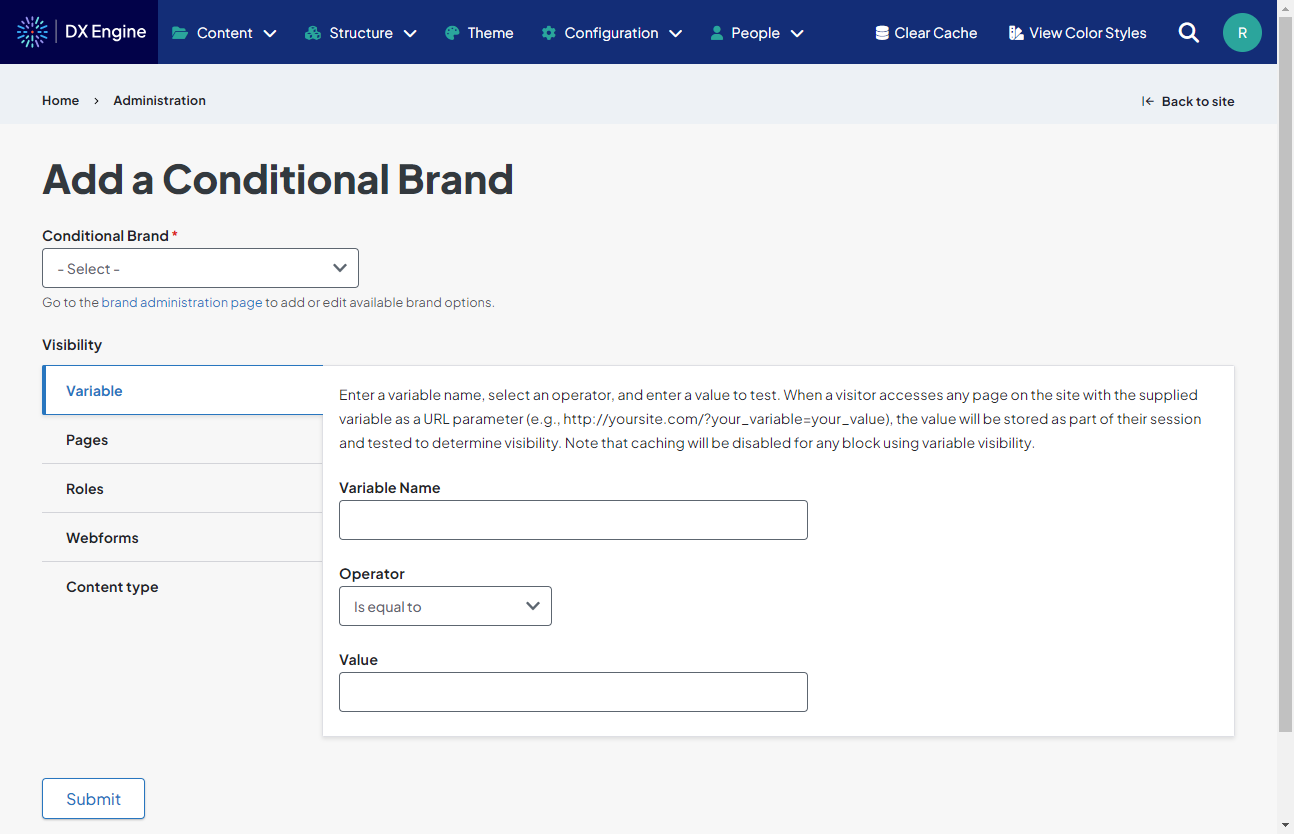
Set the following:- Conditional Brand: Select the brand from the list here that you want to display conditionally.
- Visibility: Set the conditions for which this brand should override the default brand.
- Variable: You can define a URL parameter and parameter value here. If the parameter/value is present in the URL, the Conditional Brand will display.
- Pages: You can specify URLs on which the Conditional Brand should display. For specific pages, we recommend using their "node" value. Wildcards may also be used to select all pages in a certain path.
- Roles: You can identify which DXE user roles are able to see the Conditional Brand.
- Webforms: You can enter webforms on which this Conditional Brand should be used. You can also select "Negate the condition" to make the brand appear on all forms except the entered forms.
- Content type: You can select the types of content on which this Conditional Brand should be used. You can also select "Negate the condition" to make the brand appear on all forms except the selected content types.
- Click Submit to save the Conditional Brand and visibility settings.
You can repeat the above steps to set as many Conditional Brands as you want.
Editing or removing a Conditional Brand
To edit a Conditional Brand, click its corresponding Edit button under the Manage column. You'll be able to edit all of the same brand/visibility settings as before.
To remove a Conditional Brand, click the dropdown arrow next to its Edit button and click Delete. This action only deletes the settings for the Conditional Brand; it does not delete the brand from your site.

Using multiple Conditional Brands
If you add multiple Conditional Brands - each with their own visibility criteria - it's possible that a page can meet the criteria of more than one Conditional Brand. However, pages on your site can only display one brand at a time. In these cases, the order that your Conditional Brands are listed matters:
Reordering Conditional Brands
- Expand Conditional Brands to display the list.
- Click and drag the directional arrow icons of the Conditional Brands to manually put them in the order you want.
- Scroll to the bottom of theme settings and click Save configuration.