Note: Menus can be placed on your site using either a basic menu block or custom menu block. The following instructions are for custom menu blocks.
- Click here for basic menu instructions.
- Click here to learn more about the differences between basic and custom block menus
Configuring a custom menu block
Stage 1: Create the custom block
-
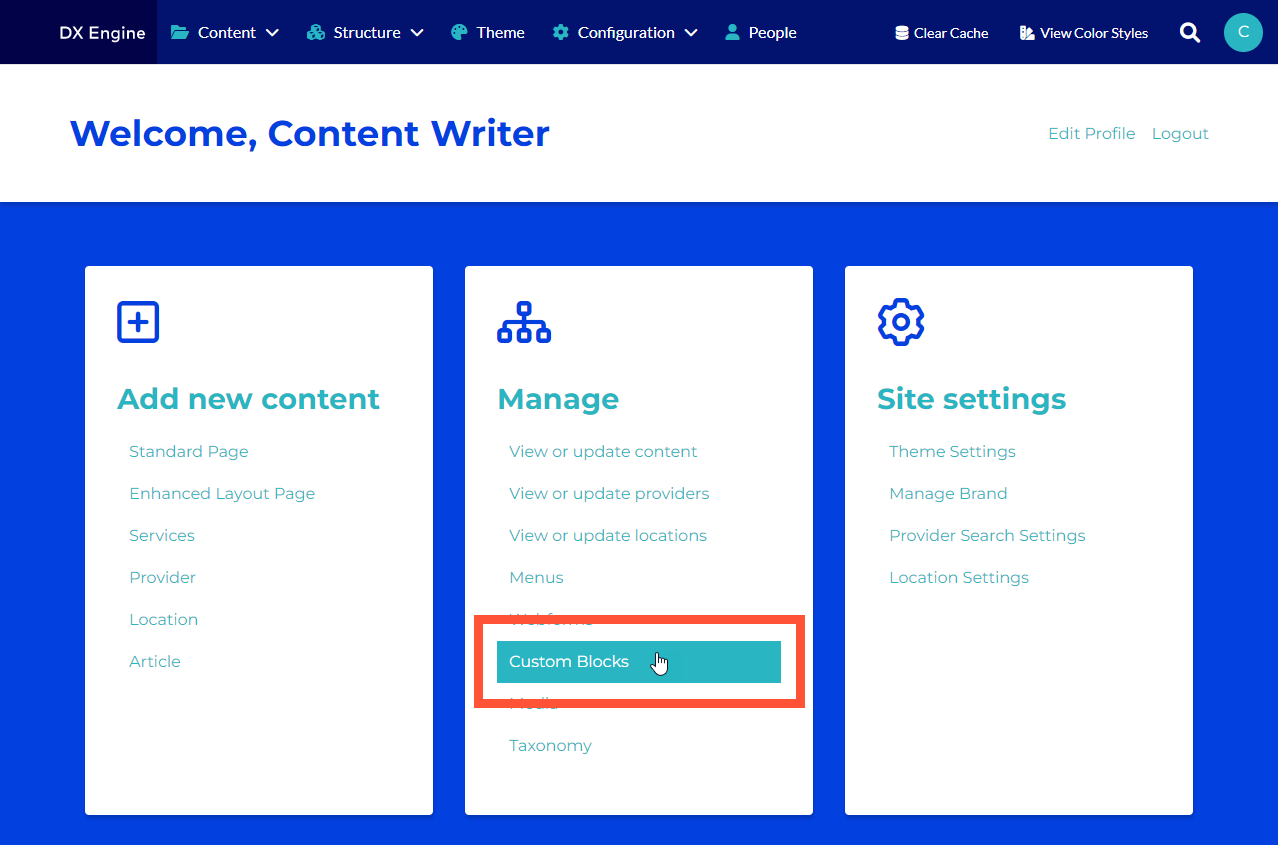
From the DXE dashboard, under Manage, click Custom Blocks.
-
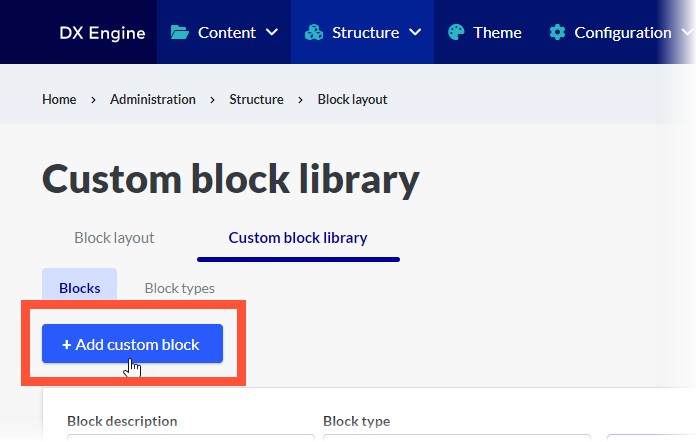
Make sure Custom block library is the active tab. Then click the + Add custom block button near the top.
-
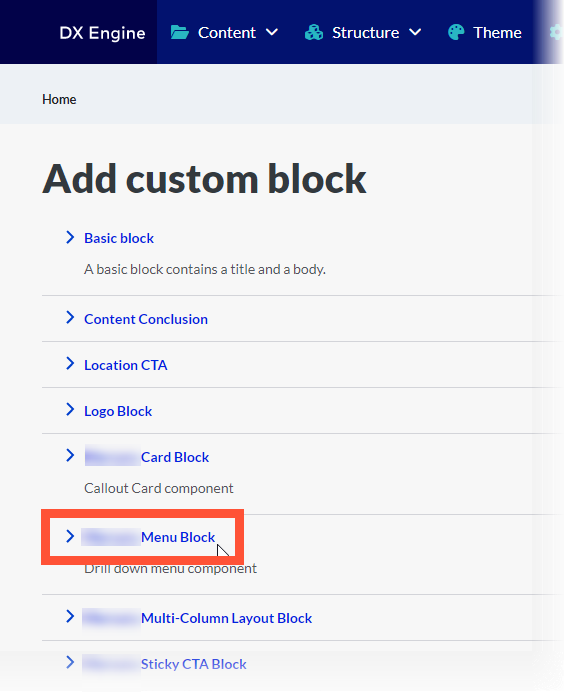
Next, select Menu Block from the list.
- Enter the following:
- Block Description: (Required) A brief description of your block. You could also consider this the “name” of the block.
- Menu: (Required) Type the name of the menu that you created before and select it in the list.
- Settings
- Menu Heading: Set a custom heading to describe the contents of the menu. Default value is the word, "Menu".
- Contextual Menu Logic: Checkbox checked indicates the menu should retrieve the name and URL of the current page and set the active menu item to the appropriate contextual state.
- Start at Context: Checkbox checked indicates that menu should start displaying link hierarchy at the current context. If left unchecked, the complete menu hierarchy will be accessible to site visitors.
- Only applicable if Contextual Menu Logic checkbox is checked.
- Show Parent Menu Item: Checkbox checked indicates that heading should be overridden with the parent menu item associated with the current page (if available).
- Only applicable if Contextual Menu Logic and Start at Context are both checked.
- Show Child Links: Checkbox checked indicates that the menu should display immediate child links associated with the current menu item; if there are no child links, the current menu item and any corresponding siblings will be rendered instead.
- Only applicable if Contextual Menu Logic checkbox is checked.
- Revision log message: A log entry explaining the changes in this revision. This can be helpful when reviewing past revisions, but is not required.
- When complete, click Save at the bottom.
Stage 2: Place the custom block
-
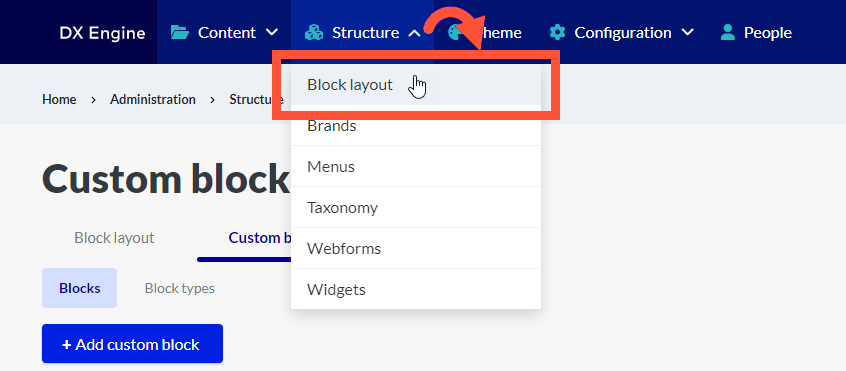
Next, navigate to the Block layout page by clicking Structure > Block Layout in the DXE menu.
- Scroll down to the section where on the page you would like your menu to appear.
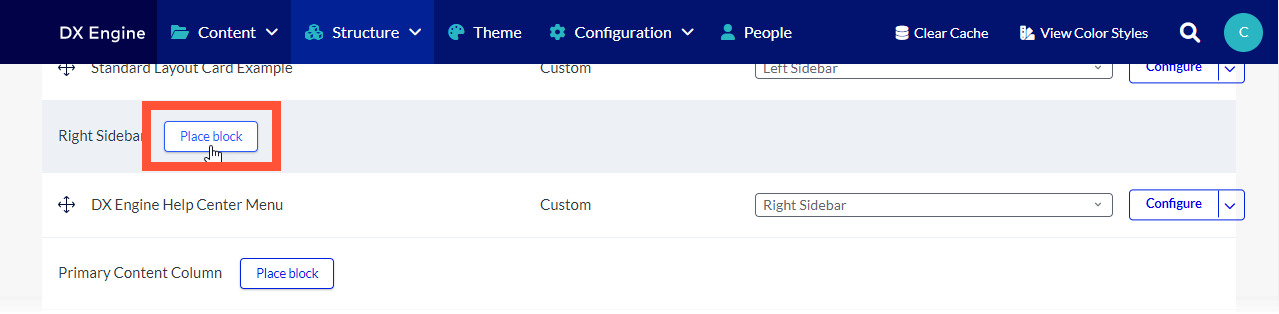
- For example, in Post content types, you have the option to display the right sidebar. You could place the menu in the Right Sidebar section. If configured to appear on posts, this block will appear in every post that displays the right sidebar.
- For more information on positioning blocks, please see the Block Layout section in our Blocks (Shared Elements) page.
-
Click Place Block next to the region where you would want this menu to appear.
-
In the Place block window, enter the name of your custom block at the top. Then click Place block next to it in the list. Custom blocks will show “Custom” under the category.
- In the Configure block screen, you can customize the menu with the following options:
- Title: Short text entry for a menu title.
- Display Title: Check this box to display the title on the screen with the menu.
- Visibility
- Content type: Select the content type(s) that this menu will appear on.
- Event, Location, Post, Provider, Enhanced Layout, Services, and Standard Layout can be selected.
- Leaving all unselected will default to Not restricted and show on all types.
- Variable: Enter a variable name, select an operator, and enter a value to test.
- When a visitor accesses any page on the site with the supplied variable as a URL parameter (e.g., http://yoursite.com/?your_variable=your_value), the value will be stored as part of their session and tested to determine visibility.
- Note that caching will be disabled for any block using variable visibility.
- Variable Name, Operator and Value can be identified.
- Pages: Specify pages by using their paths. Enter one path per line.
- The "*" character is a wildcard. An example path is "/user/*" for every user page.
- "<front>" is the front page.
- To exclude specific pages, prefix the path with a "!". Example excluded path "!/user/jc"
- Show or Hide can be selected to set whether the menu should show on the entered pages, or hide from them (and show on all others).
- Leaving everything blank will default to Not restricted and show on all pages.
- Roles: Show the menu based on whether the user has one of the selected roles.
- Anonymous, Authenticated, Administrator or DXE Manager can be selected.
- Leaving all unselected will default to Not restricted and show for all users.
- Content type: Select the content type(s) that this menu will appear on.
- Region: This will be populated with the region you selected Place block for earlier. You can change it to a different region here if you like.
- When all settings are configured as you like, click Save block at the bottom.