Providers
February 10, 2023Overview
A “provider” is a person in your medical organization that practices medicine on patients. DXE can retain lots of information about each provider; including their name, location, specialty, education, history and much more. The more information you input for each provider, the more helpful it is for potential patients to find the provider best suited to their needs.
Providers are a unique content type in DXE. Instead of freeform entry, providers are added using a template to ensure that information gathered is as uniform as possible. Display of providers in search results and provider view is all automatic, but uses certain characteristics defined by your theme (such as color scheme) to keep your brand identity intact. This approach makes adding providers a breeze while still keeping a professional, easy-to-navigate interface for your visitors.
Adding a Provider
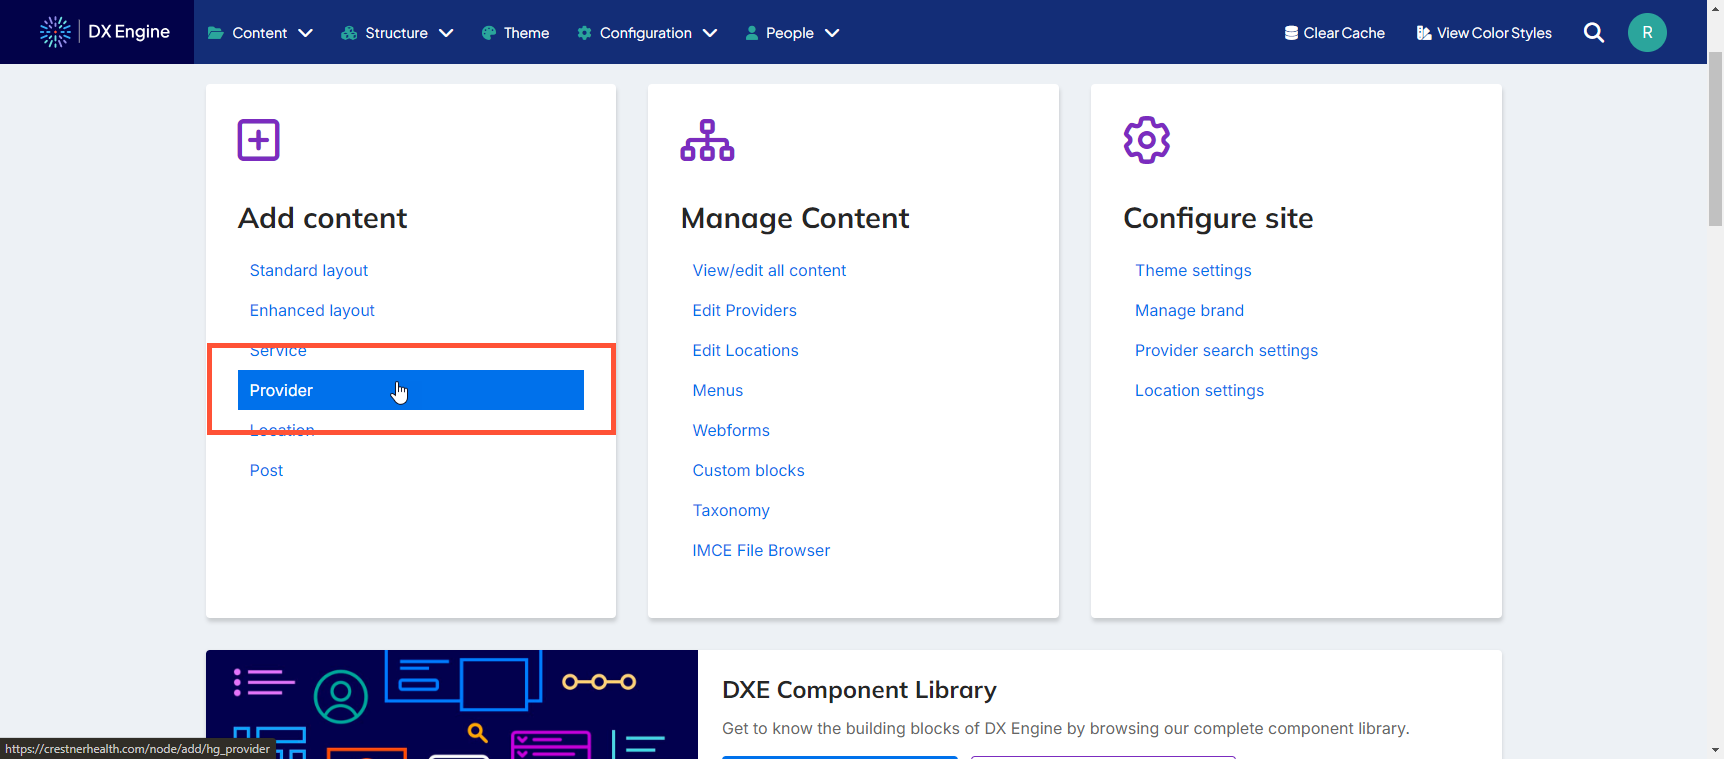
From the dashboard, under Add new content, click Provider.
Fill out the fields on the Create Provider screen:
- Display Name: Name that displays in search results.
- Name
- Title: Official prefix for provider name (e.g. Ms., Mr., Dr., etc.)
- First: First name.
- Middle: Middle name.
- Last: Last name.
- Generational: Dropdown to select suffix for provider’s generation (e.g. Jr. III, IV, etc.)
- Credentials: Free text entry for any additional credentials required for the provider’s name (e.g. MD, PhD, etc.)
- NPI: Number entry for National Provider Identifier (a 10 digit number that uniquely identifies this provider)
- If a duplicate or invalid NPI number is entered, an error will display on screen when attempting to save the provider record. The NPI must be updated before the record will save. This validation step prevents future issues with the provider database.
- Images: Image upload, intended to be for profile pictures of the provider. Can upload multiple images.
- Video: Text entry, add the URL for a YouTube video here to display on the provider’s page.
- Gender: Optional dropdown to select a gender for the provider. Phone Number Call to Action.
- URL: Destination for the call to action.
- Start typing the title of a piece of content to select it. You can also enter an internal path such as "/node/add" or an external URL such as "http://example.com". Enter "<front>" to link to the front page. Enter "<nolink>" to display link text only. Enter "<button>" to display keyboard-accessible link text only.
- Link text: Text entry for the displayed label of the button or hyperlink.
- URL: Destination for the call to action.
- Bio: Free text entry to write a short biography of the provider. This text will appear in an About Me section
- Education (multiple education items can be added, each with the following fields):
- Type: Free text entry to describe the type of education (e.g. Physiology, Neurology, Sports Medicine, etc.)
- Institution: Free text entry for the name of the educational institution.
- Degree: Free text entry to describe the degree type (e.g. Bachelor’s, Doctorate, PhD, etc.)
- Year Completed: Year when the provider received this degree.
- Board Certifications (multiple education items can be added, each with the following fields):
- Issuer: Name of institution that granted the certification.
- Specialty: Knowledge or achievement acknowledged by the certification.
- Issue Date
- Expiration Date
- Affiliation: A dropdown of user-generated affiliation options. You can fill out the options that appear here by going to Structure > Taxonomy and clicking List terms next to Affiliations.
- Location: The location(s) where this provider practices medicine. You can add more than one location by clicking the Add another item button.
- Primary Specialty: This provider’s primary field of medicine. You can fill out the options that appear here by going to Structure > Taxonomy and clicking List terms next to Specialties.
- Specialties: Any other specialties this provider may offer. You can add more specialties by clicking Add another item.
- Languages Spoken: You can fill out the options that appear here by going to Structure > Taxonomy and clicking List terms next to Languages.
- Insurances Accepted: You can fill out the options that appear here by going to Structure > Taxonomy and clicking List terms next to Insurances.
- Conditions Treated: The types of conditions that this provider specializes is treating. You can fill out the options that appear here by going to Structure > Taxonomy and clicking List terms next to Conditions.
- Procedures Performed: The types of procedures that this provider specializes in performing. You can fill out the options that appear here by going to Structure > Taxonomy and clicking List terms next to Procedures.
- Rating: A numerical field where this provider’s rating can be manually adjusted.
- Rating Count: A numerical field where this provider’s number of total ratings can be manually adjusted.
- Accepting New Patients: Checkbox, if selected, identifies that this provider is currently accepting new patients.
- Offers Virtual Visits: Checkbox, if selected, identifies that this provider is open to virtual visits via web chat.
- OAS Enabled: This stands for "online appointment scheduling." If this box is checked, it indicates that this provider allows booking appointments using an online interface.
- Show in Search: Checkbox, if selected, will show this provider in search results. Uncheck this box to hide the provider from any search results.
- Accolades: Free text to list any applicable accolades that this provider would like to share. You can fill out the options that appear here by going to Structure > Taxonomy and clicking List terms next to Accolades. Additional accolades can be added by clicking Add another item.
- Links (multiple links can be added, each with the following fields):
- URL: Actual destination of the link. This must be an external URL such as http://example.com.
- Link text: The display text of the link.
Editing a Provider
-
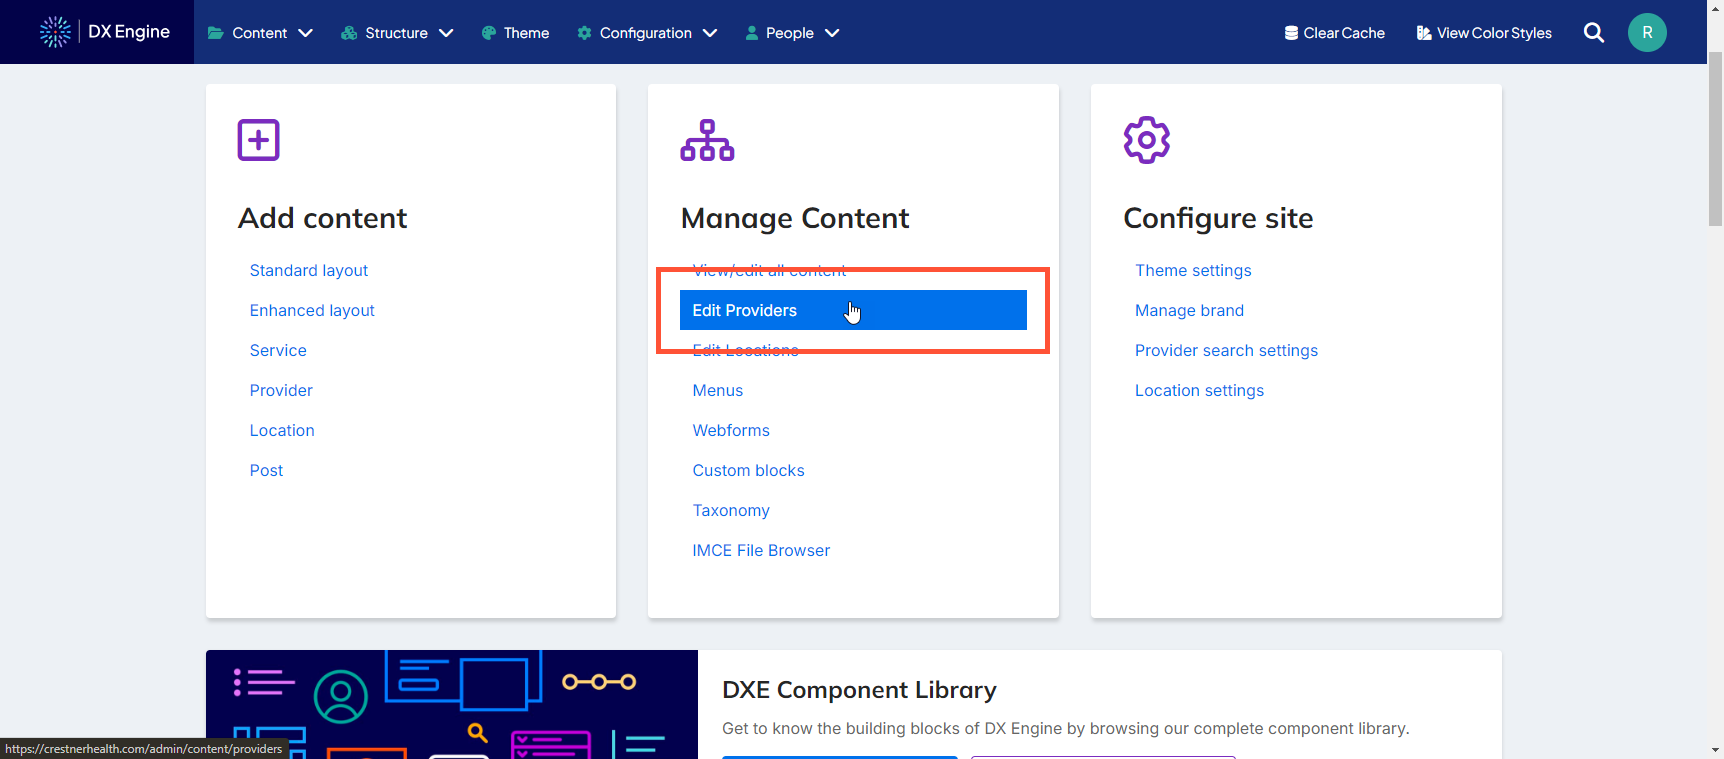
From the DXE menu, under the Manage section, click Edit providers.
-
The list of providers appears near the bottom. For large lists, you can use the search filters to narrow it down. When you have found the provider you want to edit, click Edit next to their record.
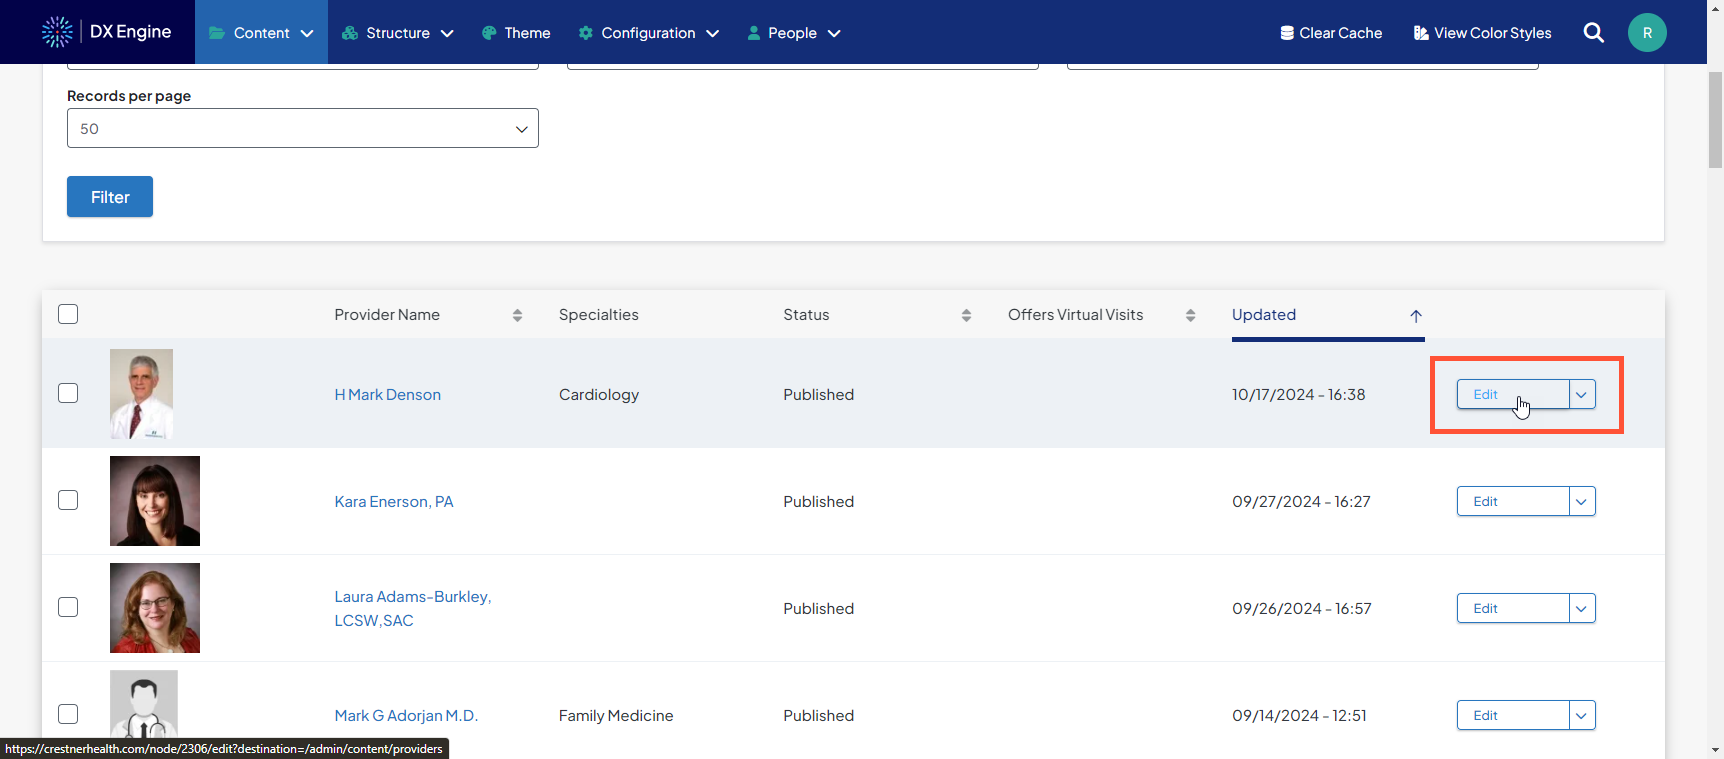
- From here, you will be able to edit the information on file for the provider. Please refer to Adding a Provider above for a description of each field.
Other Operations
You can click the dropdown arrow next to the Edit button to reveal a few more options.
![]()
- View: Go to the provider’s information page.
- Sources: Choose the sources that populate this provider’s information. By default, this provider’s information is filled out manually. If this provider is part of a registry, that source ID can be entered here and you will be able to link fields from the registry to the provider in DX.
- Syndication: If the source of this provider’s information is not manual (see Sources above), you can control how often the provider’s information is synced from an external registry here.
- Delete: Deletes the provider. You will have to confirm before proceeding. This cannot be undone; if you would like to restore a provider after deleting them, you would have to recreate them.
- Clone: Copy this provider’s information to another provider. You will go to an Add Provider screen with the information of the cloned provider in the fields. You can change the information as necessary. You must click Save before a new provider is created. (If you exit this screen before saving, you will not create a new provider record).